Your name is on the monitor. Right next to it, your next deadlift attempt in pounds.
“The bar is ready,” the announcer calls.
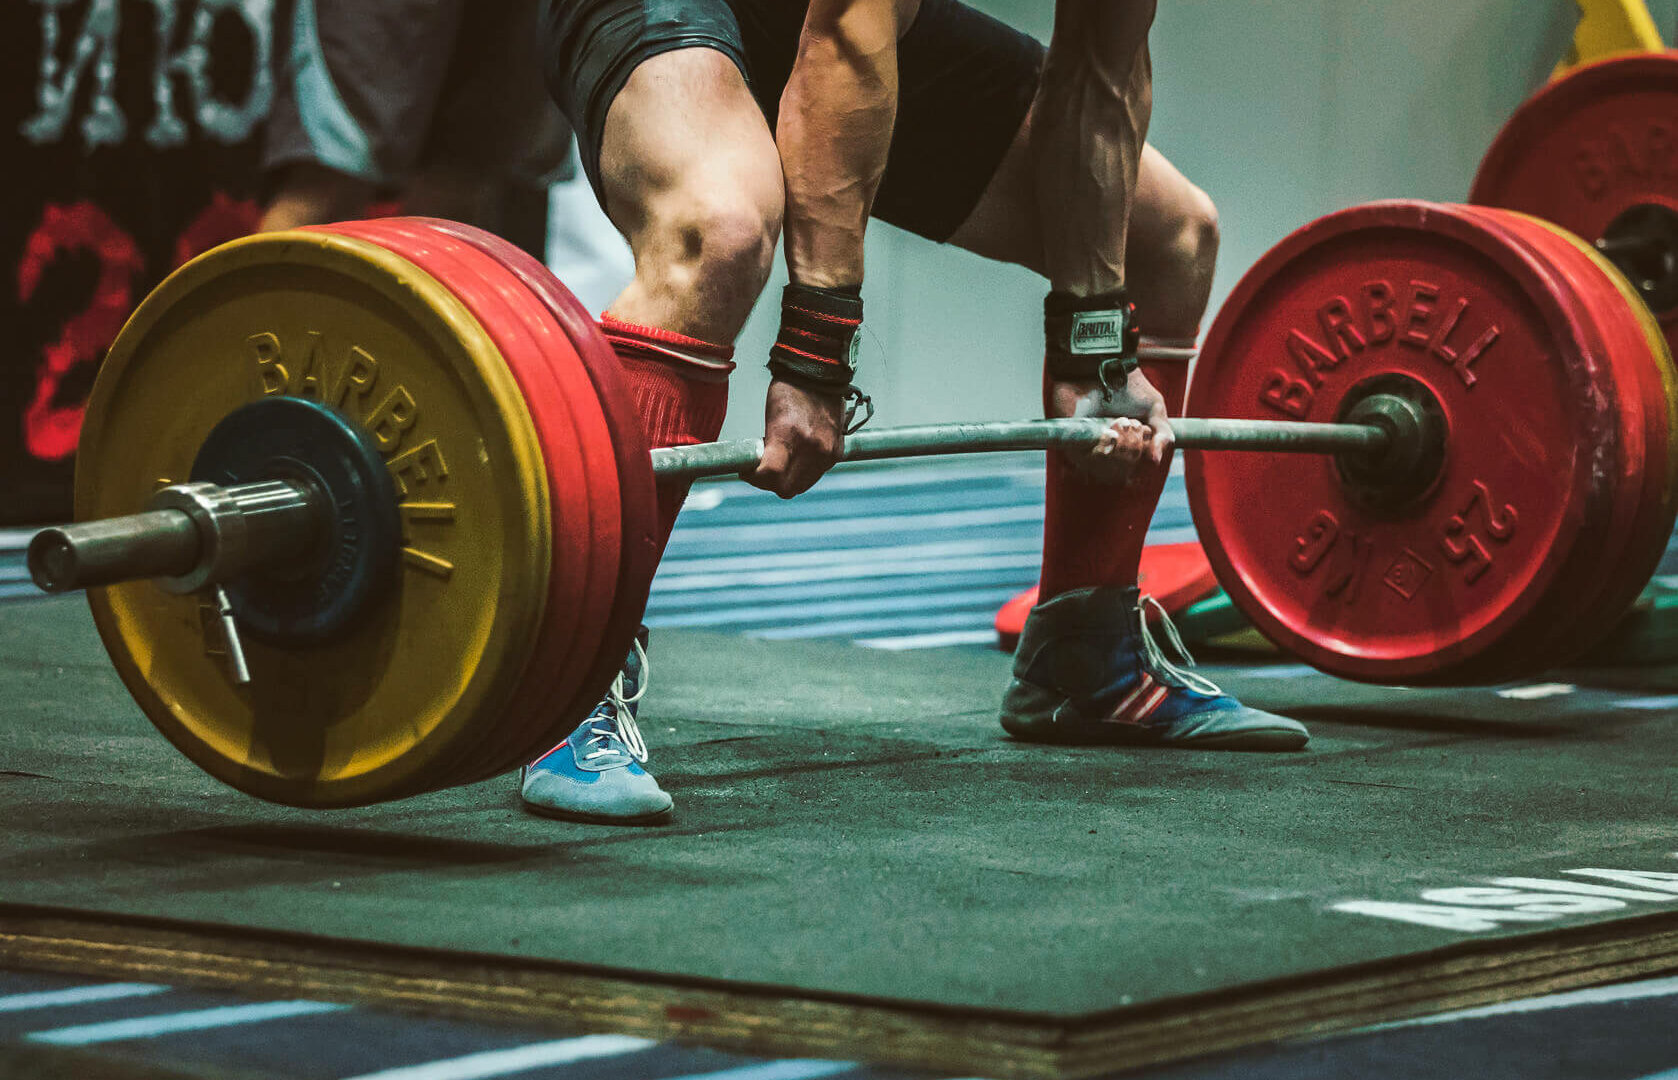
As you walk your way through the crowd of lifters, the smell of ointment and ammonia hits your outer senses, as you focus on the lift you intend to make. Next thing you know, you’re at the bar. You pop your ammonia cap, psych yourself up, and you reach down for your final deadlift of the day.
Hands tightening around the bar, you begin your ascent. And then it happens. One inch away from the lockout, the bar slips from your hand because you couldn’t keep a firm grip on it. You walk away from the platform, defeated, feeling the sting of pride messing with you.
Now, that is a terrible scenario. Not just because you missed the lift, but that you are at stage where your grip limited and diminished your ability for the day. However, we can fix that.
It’s All in the Hands
Most of the conventional bodybuilding forearm training revolves around working the muscles of the forearms. A lot of times it involves reverse curls, hammer curls, and wrist curls in both directions. And that’s good, especially if you want aesthetic forearms. But where many miss the mark is that these particular exercises don’t directly train you to have a strong grip.
So let’s take a basic look at what our hands are made of and what they can do.
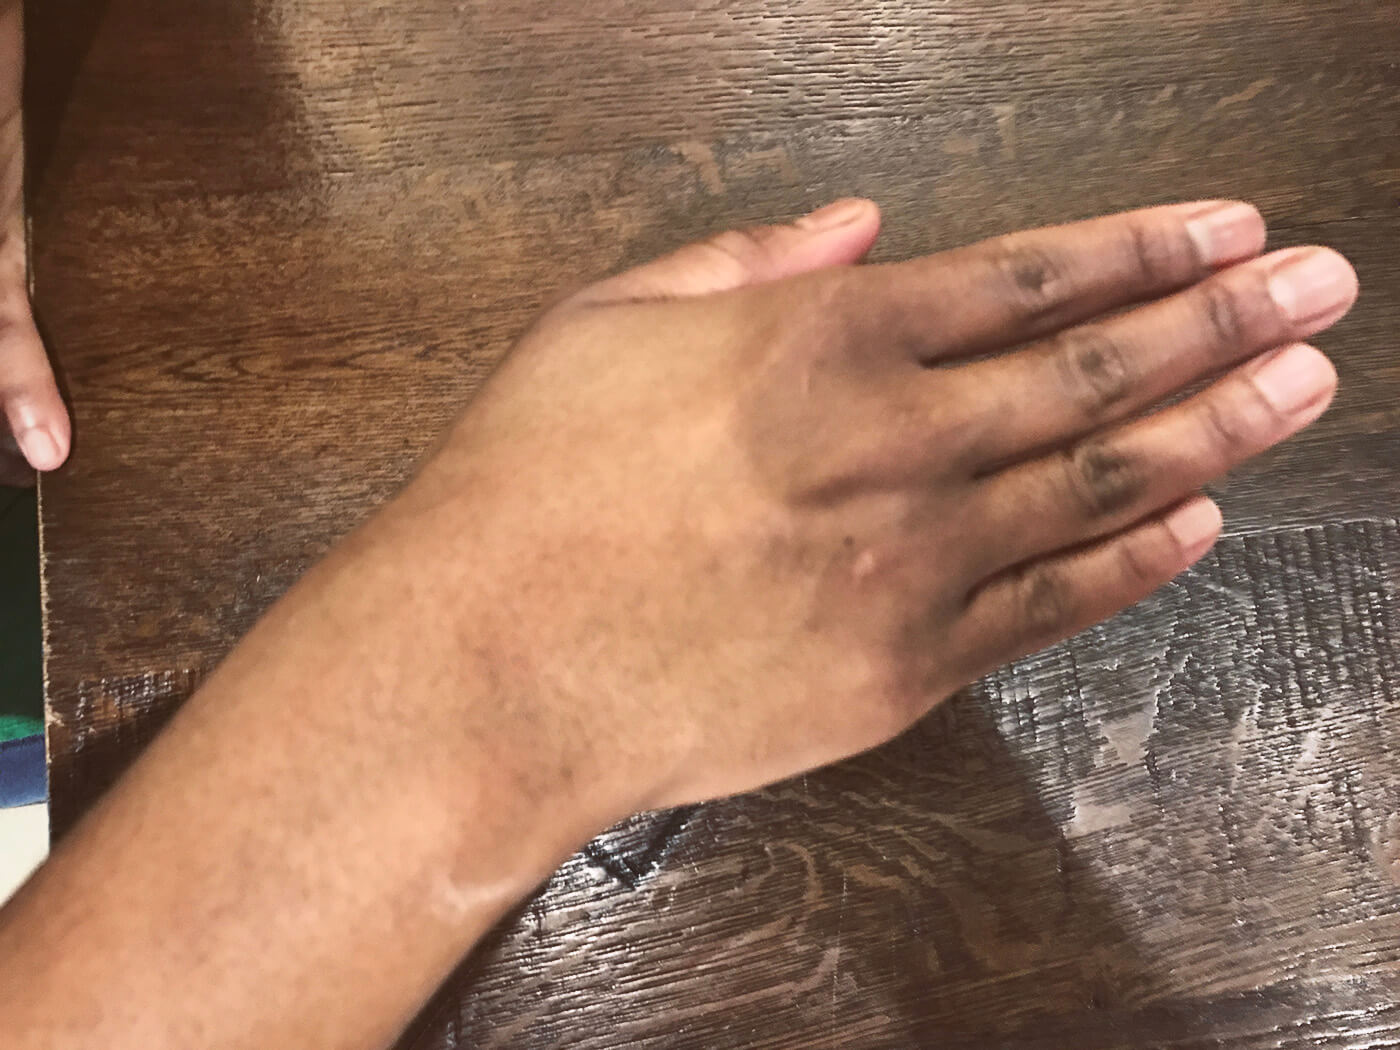
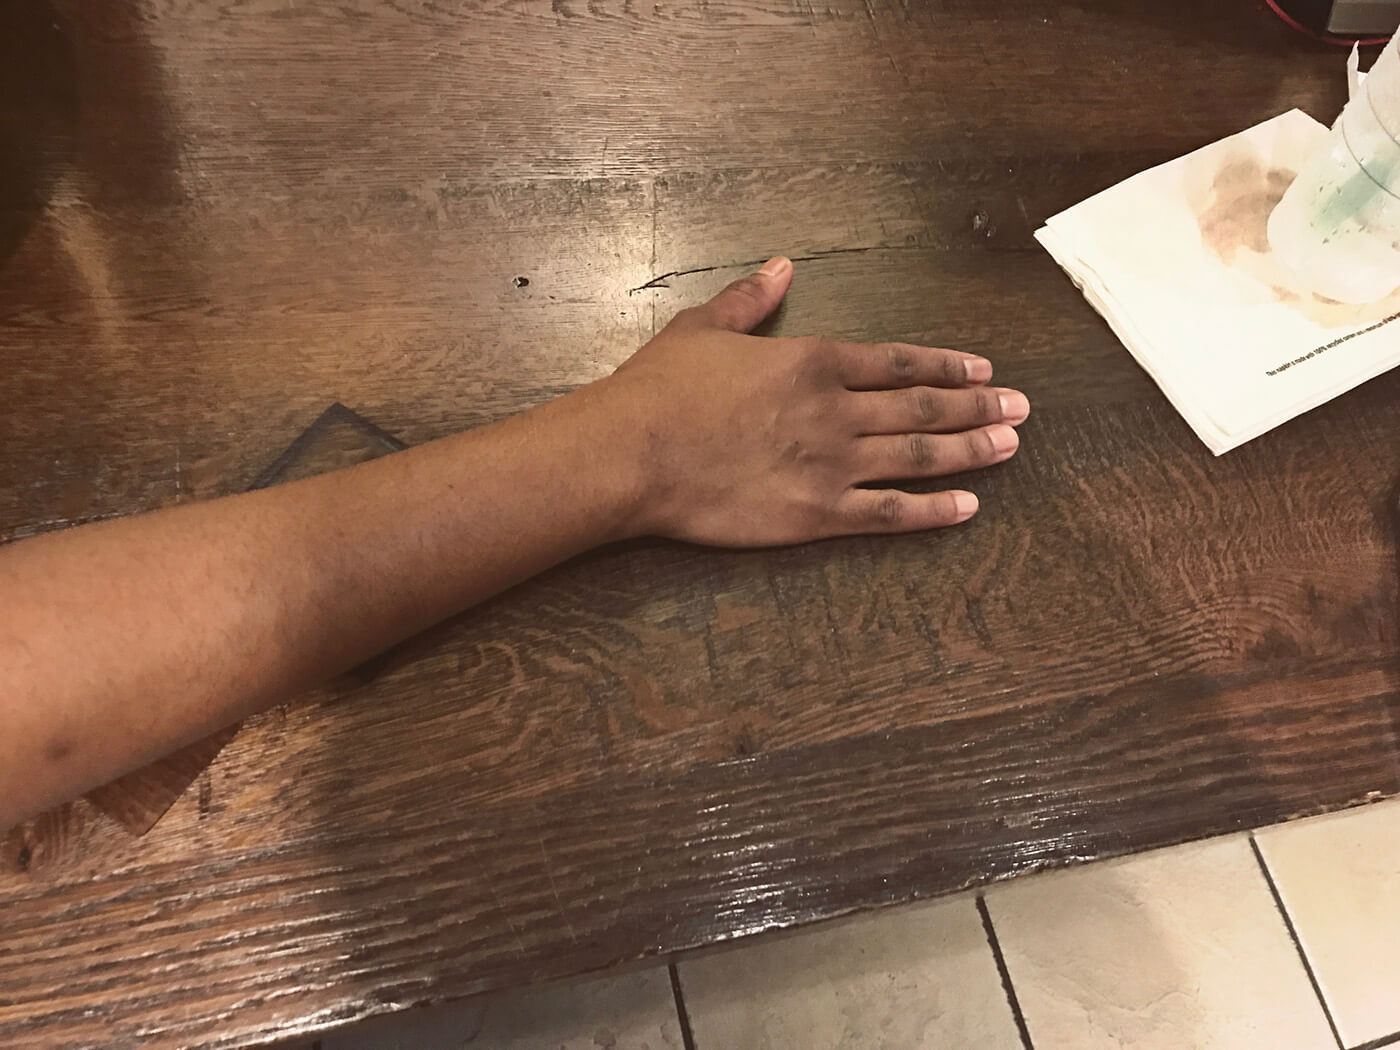
The Fingers
Your fingers themselves can move in several different ways:
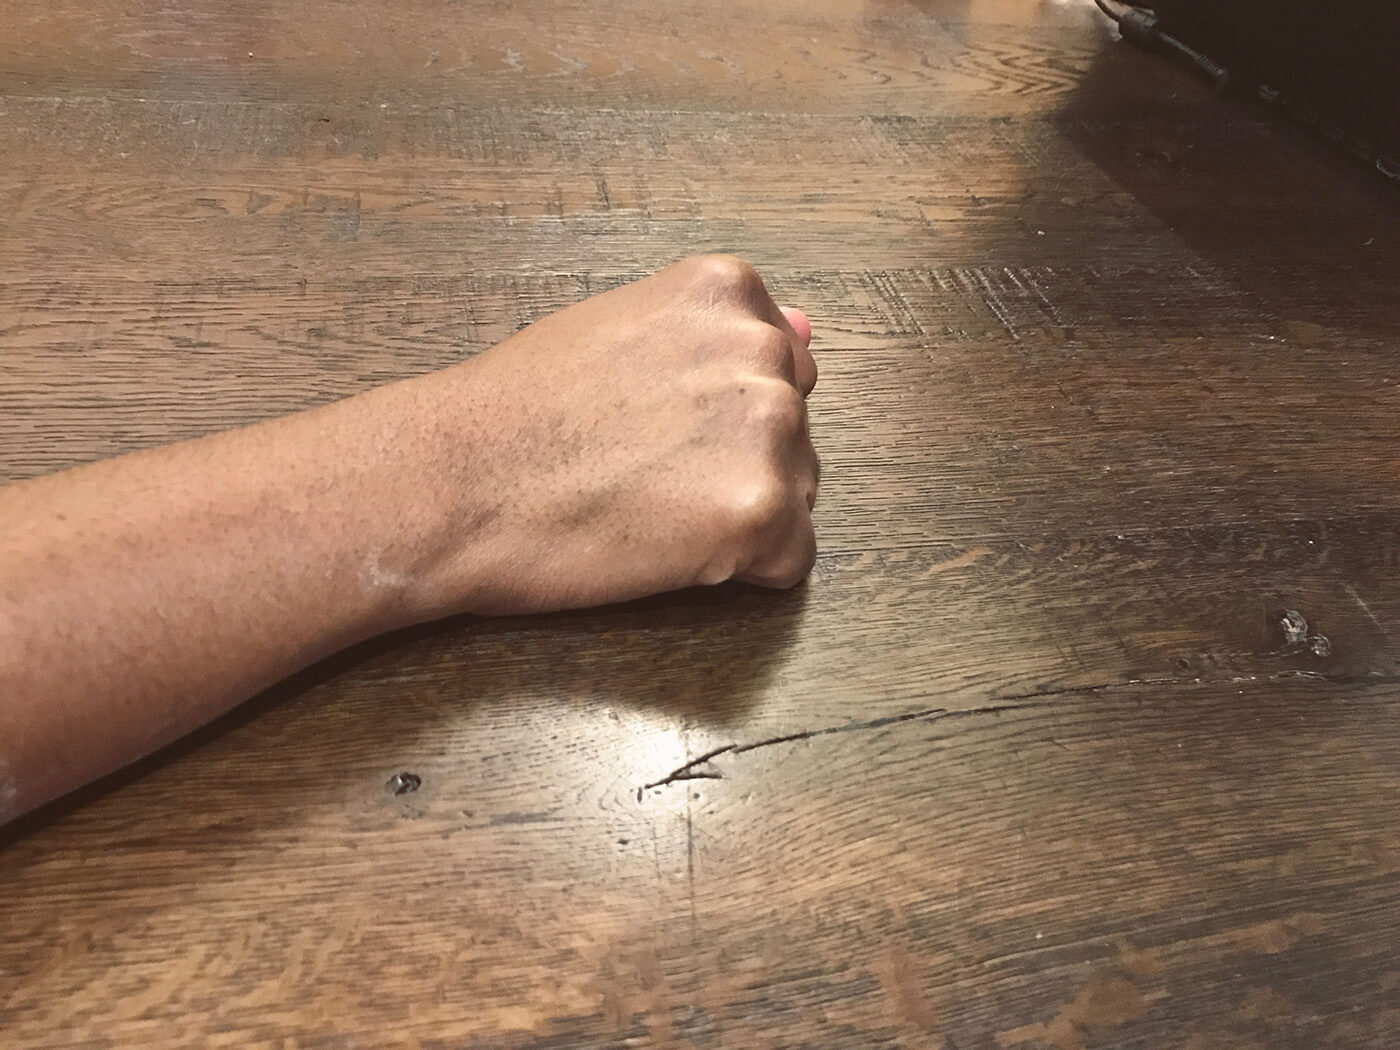
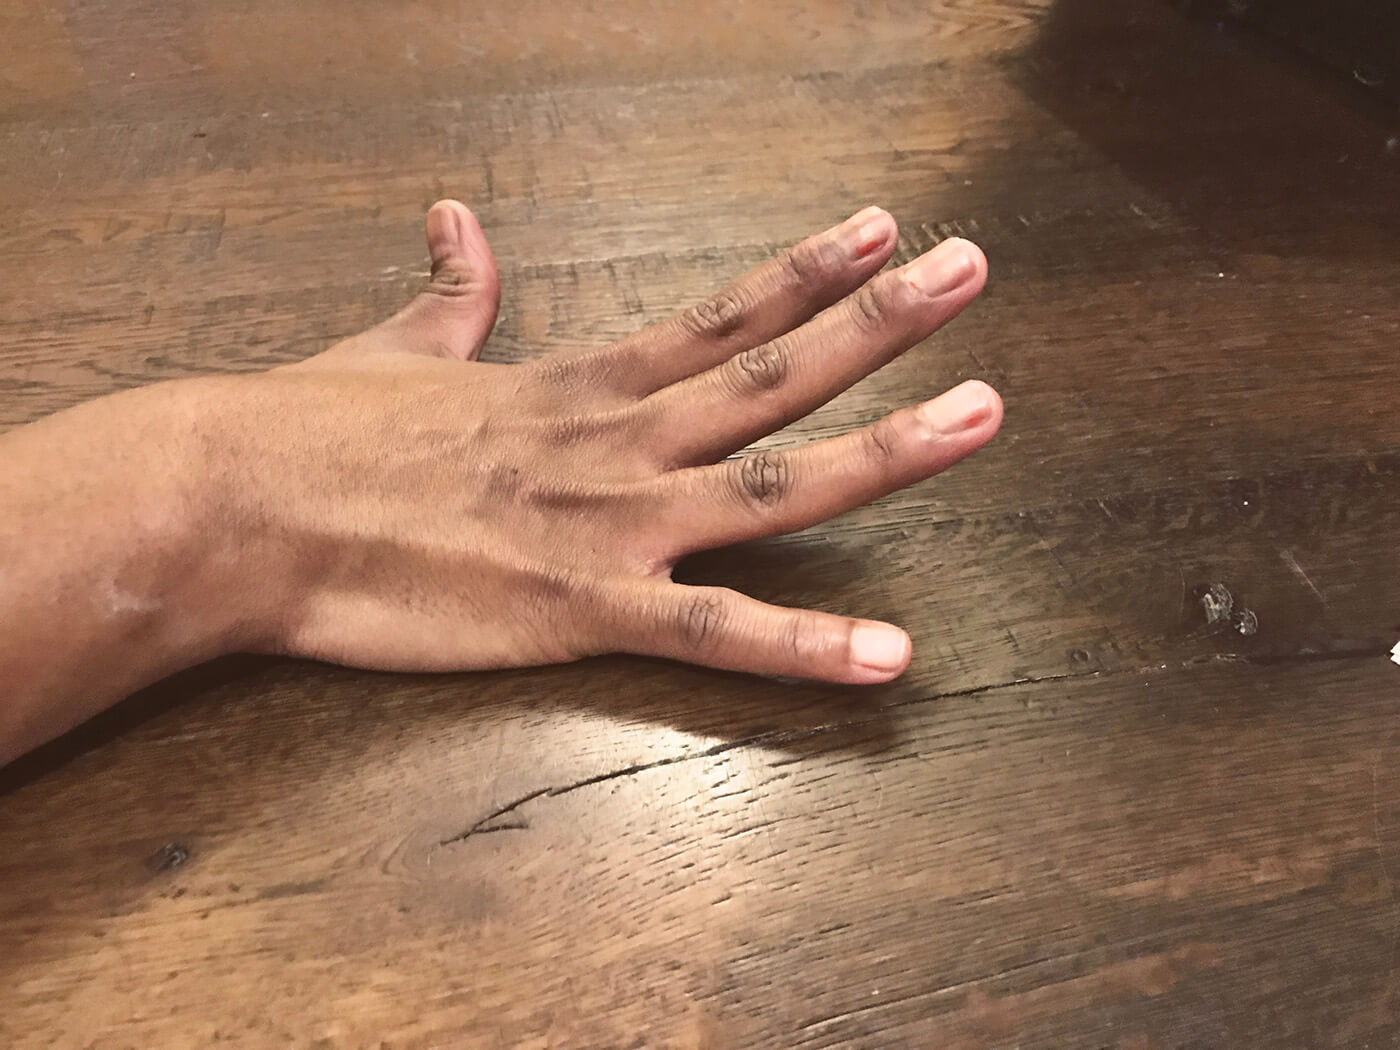
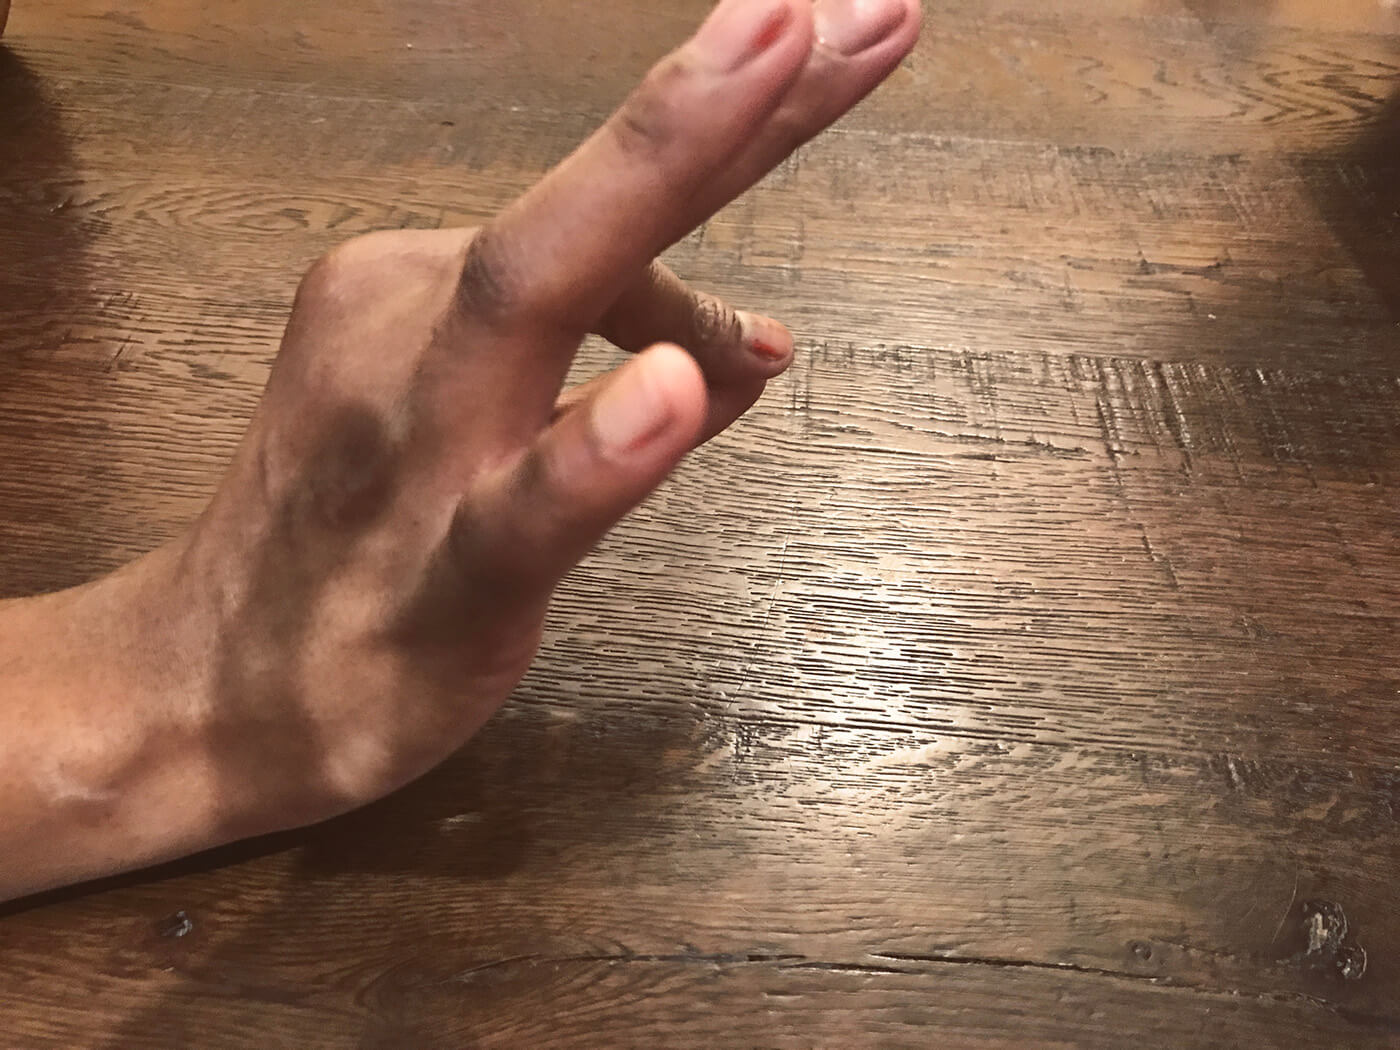

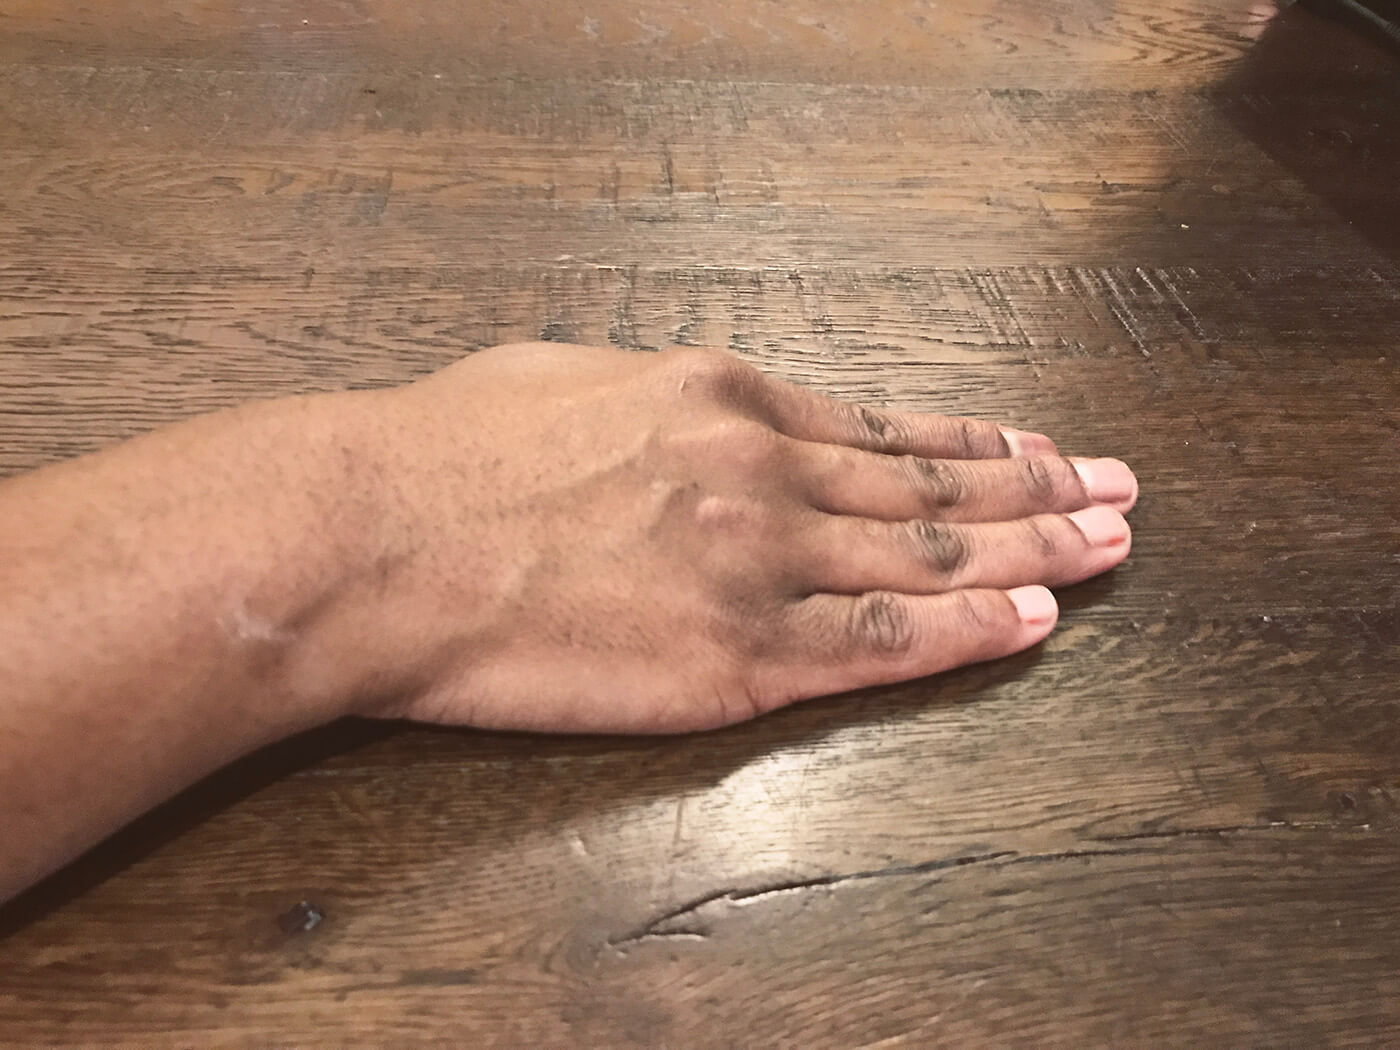
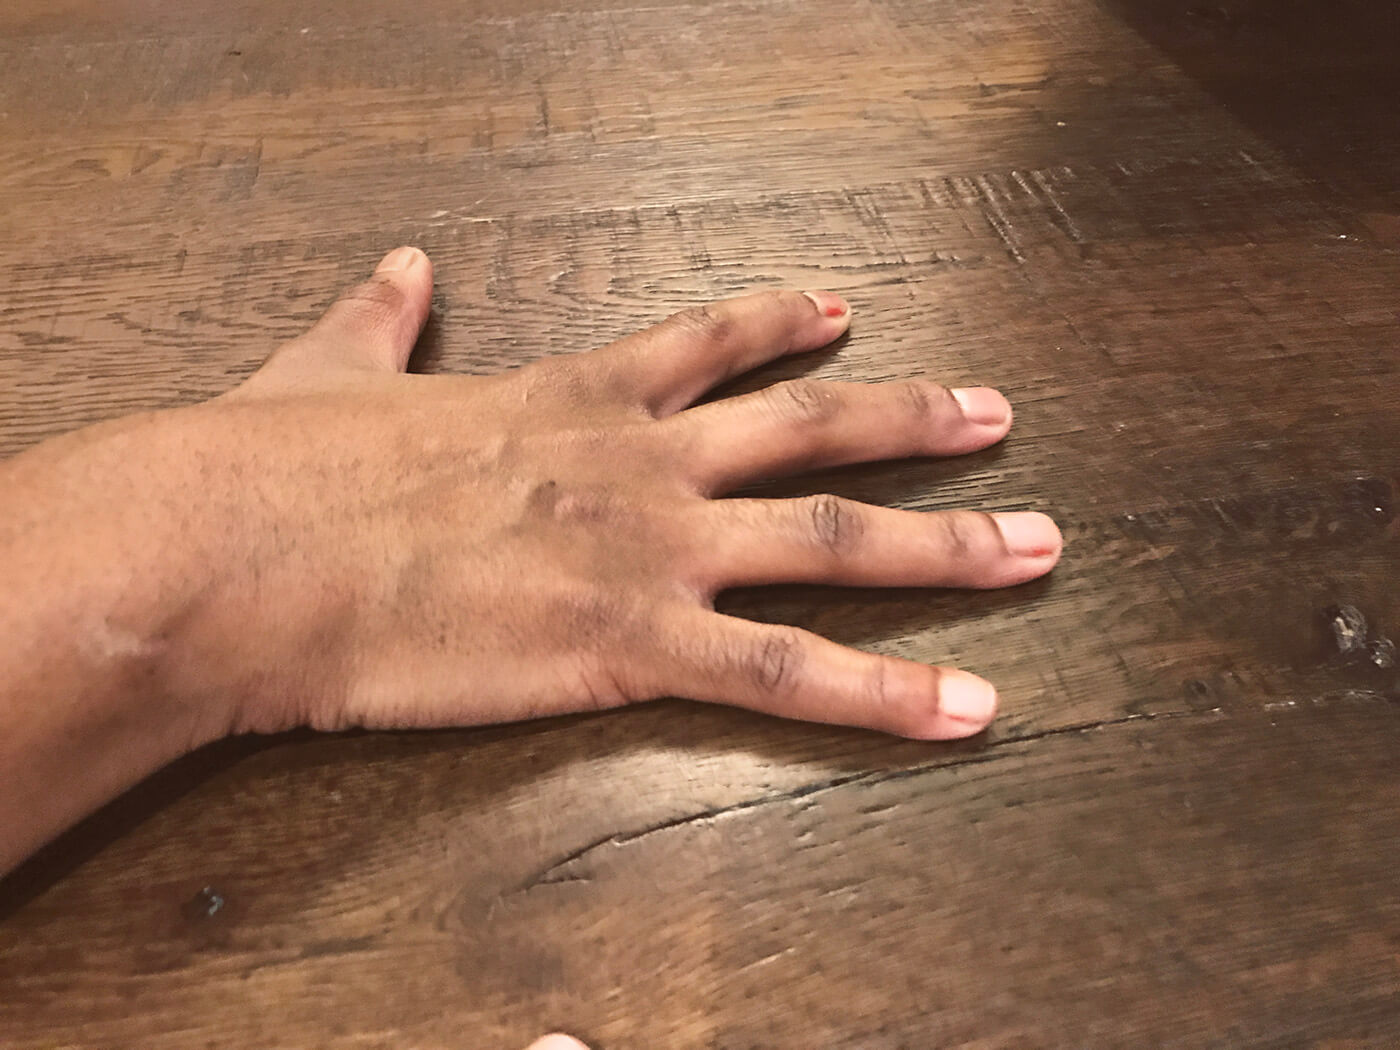
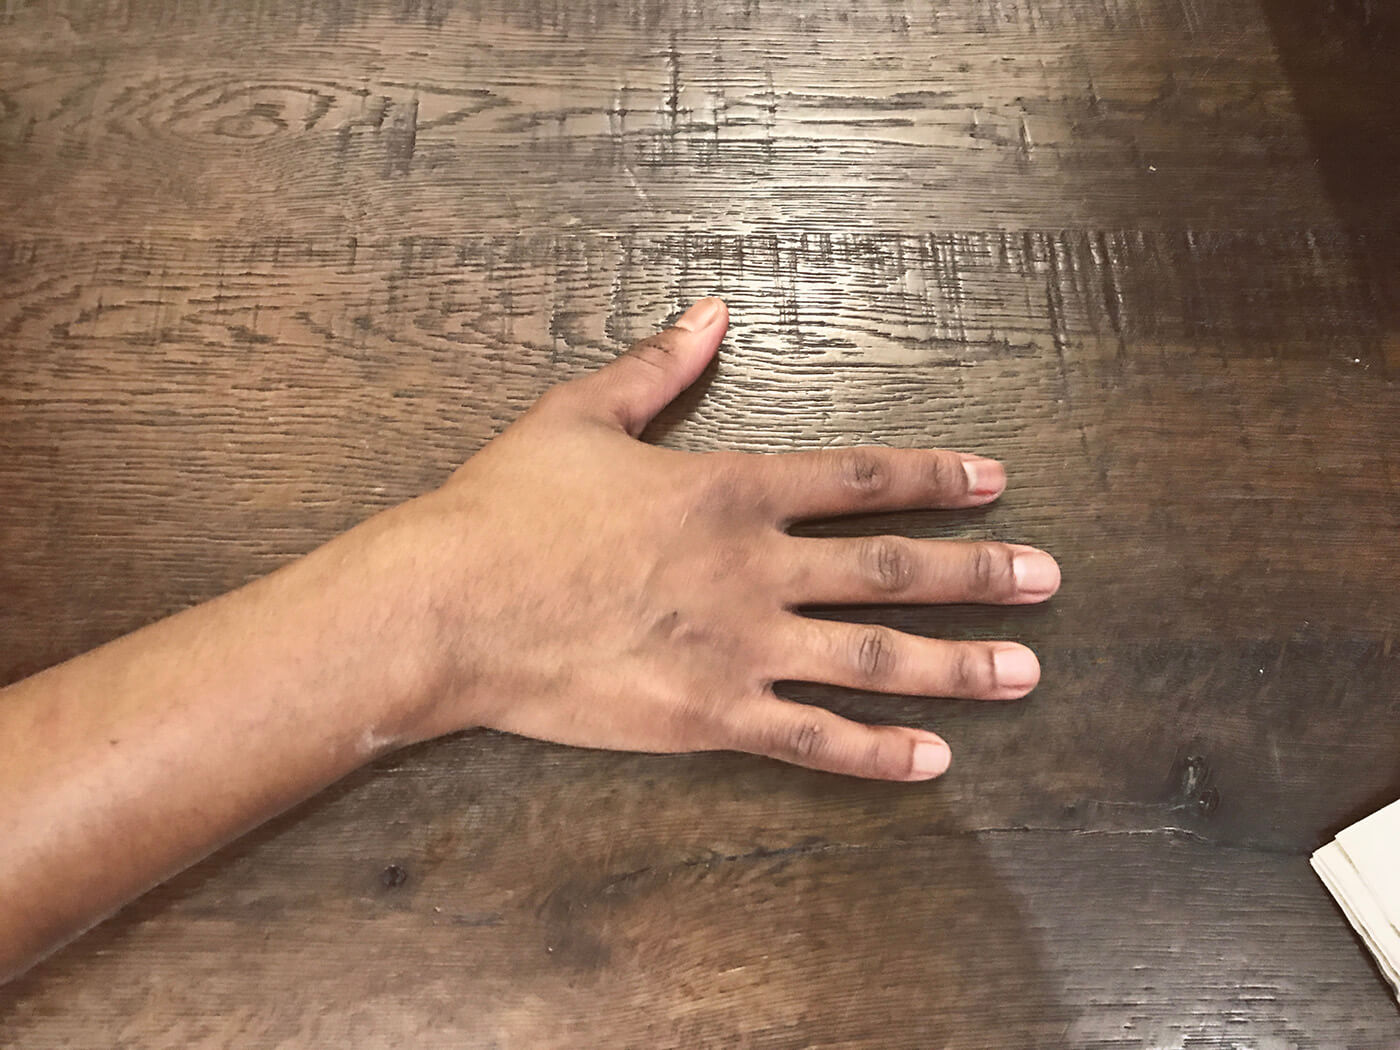
The gallery above shows what each of these looks like in the order written. In addition to those, if you move a given finger in a circle, that is called “circumduction.”
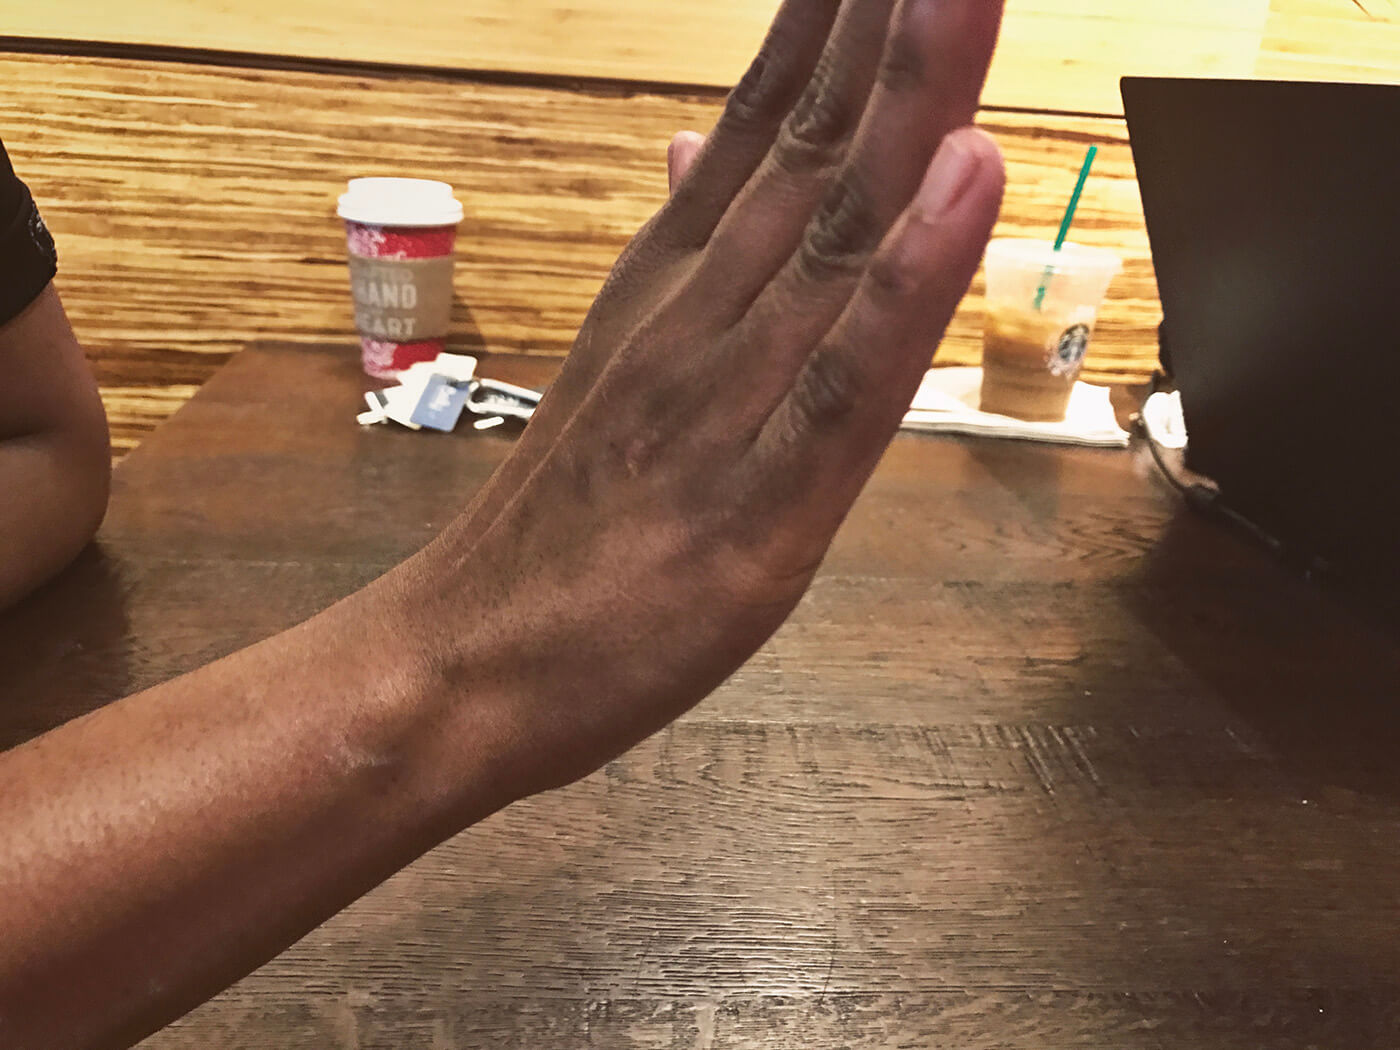
The Wrist
In addition to the fingers, your wrist can move in four different ways:


The Forearm
You know these already, I am sure. The forearms are capable of:

The Muscles
Without going into too much detail (it would take forever) there are two types of muscles to look at when it comes to your hands and grip. We have the intrinsic muscles located in the hand itself, and we have the extrinsic muscles located in the forearm.
To further divide them, we have the flexors and extensors of each. The extrinsic flexors are what you feel in the front of your forearm when you make a fist and flex your wrist. The extrinsic extensors are on the back of your forearm and you can feel them when you extend your fingers and wrist.
Better, Stronger Hands
Armed with this knowledge, a quick look at your training log can tell you just what you are not doing as it relates to your hand and grip training. Looking at training in general from a bigger perspective, the traditional rule is to pull at least as much you push, if not erring on the side of more pulling than pushing. Having said that, we often fail to apply that logic to our hands. Moreover, we can use some of this knowledge to increase our grip and give us a better deadlift. One of the reasons this is so beneficial is through a process called “irradiation,” which is
the overflow of neuronal excitation from stronger motor units to weaker ones, or units that may be inhibited by injury. This is done by applying graded resistance to larger muscle groups to enhance contraction in the weaker groups. [1]
To sum up, having to grip more will have a carryover to your other muscle groups. That said, let’s take a look at four different exercises to start with to accomplish this task.
1. Axle Deadlift
This is a specific deadlift variation that will be brutal for your forearms when you start out. At first glance, it looks just like a normal deadlift. And in many ways, it is. However, you’re using a two inch thick bar, instead of a standard Texas deadlift bar or whatever your gym keeps in stock.
When you perform this, you need to do it over handed to reap the full benefits it can provide. Not only that, you might want to take a look at your stance. More often than not, a conventional puller will opt for a sumo stance when training with the axle, since the added thickness changes the lift. Not only that, a sumo pull shortens the range of motion. In the first stages of training, a shorter range of motion will be helpful.
You must also modify the grip you take. The bigger the bar, the more surface area of your hand it covers. So, you want to maximize that to your advantage. We do that by using what I call the “ice cream cone grip.” So the difference is that instead of reaching straight down, you are going to do the following:
- Reach Straight down
- Grab the bar
- Give the elbows a slight bend
- Internally rotate your humorous
And there you have your grip for the axle deadlift. You can see me doing this in the video. Once acquired, make your pull. It’s also worth noting that the elbow flexion is slight, and won’t put you in any danger since you are lifting sub maximal weights in comparison to your regular deadlift max.
2. Axle Rows (See what I did there?)
These are a personal favorite of mine. You have two ways to approach this, similar to a normal barbell row. You can do a pronated or a supinated grip. If you do the pronated grip, use the ice cream cone grip like I mentioned earlier. If you choose the supinated grip, mess around with it to find a comfortable position for your wrists. I prefer the supinated grip due to the extra bicep work I get out of it, which is all the more sweet because of the axle.
If you want a fun game, do a set at a light weight and see which gives up first: your lats or your grip. As an honorable mention, you can use a thick bar dumbbell and do single arm rows with them as well.
3. Axle Pull-Ups/Chin-Ups
Chin-ups and pull-ups are a great way to work your overhead pulling motions. As an added bonus, these bodyweight moves will fatigue your grip in a short time. Tread with caution, and apply liberal amounts of chalk.
4. Pinch Lifting
This is a specific deadlift variation, but unlike the other exercises we have discussed, this works out the intrinsic muscles of the hand with more intensity. And it has a specific target of loading right on your thumb, unlike the others.
So to start, you are going to extend your fingers, and they are going to pinch two plates together. If you’re a strong woman, start with two 25 pound plates, men try two 35 pound plates, and both of you apply a lot of chalk.
In addition, we are going to position our arms just like we did for the axle deadlift. Flex the elbow, internally rotate the humerus, as you can see in the video.
Other Options and Considerations
These are not the only grip exercises you can do, by a long shot. But they do provide a wonderful starting point with a high payoff. The first obstacle might actually be finding an axle. Never fear. You can head over to bodybuilding.com and score yourself a set of Fat Gripz. They are portable and cheaper than an axle by a few hundred dollars. Not only that, the Fat Gripz can attach to almost any barbell, dumbbell, or pull-up bar at your leisure. With that in mind, you have an instant grip training device.
If the axle and the Fat Gripz are not an option at the moment, you still have other options. The simplest thing is to take two hand towels, and roll them around the barbell or dumbbell. It won’t be quite the same as using the thick bar since they have a lot of give when you squeeze them, but they will work if that’s all you have available.
As far as including this in your normal training routine, you have many options. The following two are my personal favorites:
- Devote an entire day to your grip, or
- Add them in on certain training days
The first option is excellent if your grip is your missing link. Think of it like bringing up a lagging body part—you train the deficiency even more to make it better. With that in mind, you can keep it simple, and still get in a great workout. For instance, your grip day could be as follows:
- Axle Deadlifts – work up to a double and do 5×2
- Pinch Deadlifts – 5×3-5 with two plates pinched together
- Lat Pull-downs – 3×10 with either the Fat Gripz or two towels wrapped around the pull-down bar.
Or, if you were to throw them in on your normal training days, you would do your normal stuff, and do a set or two of grip work after. For example, after your deadlift day, you tack on two sets of axle deadlifts to finish off your workout. Same for your back day, and so on.
It goes without saying that if this stuff is new, start light, start with less frequency. You have a lot of sensitive ligaments in your hands, and healing from a hand injury is not a fun process. So in the beginning, it won’t take much. As you get stronger in your grip, you can then up the intensity and frequency. Until then, train smart and in the future, leave nothing on the platform or in your training.