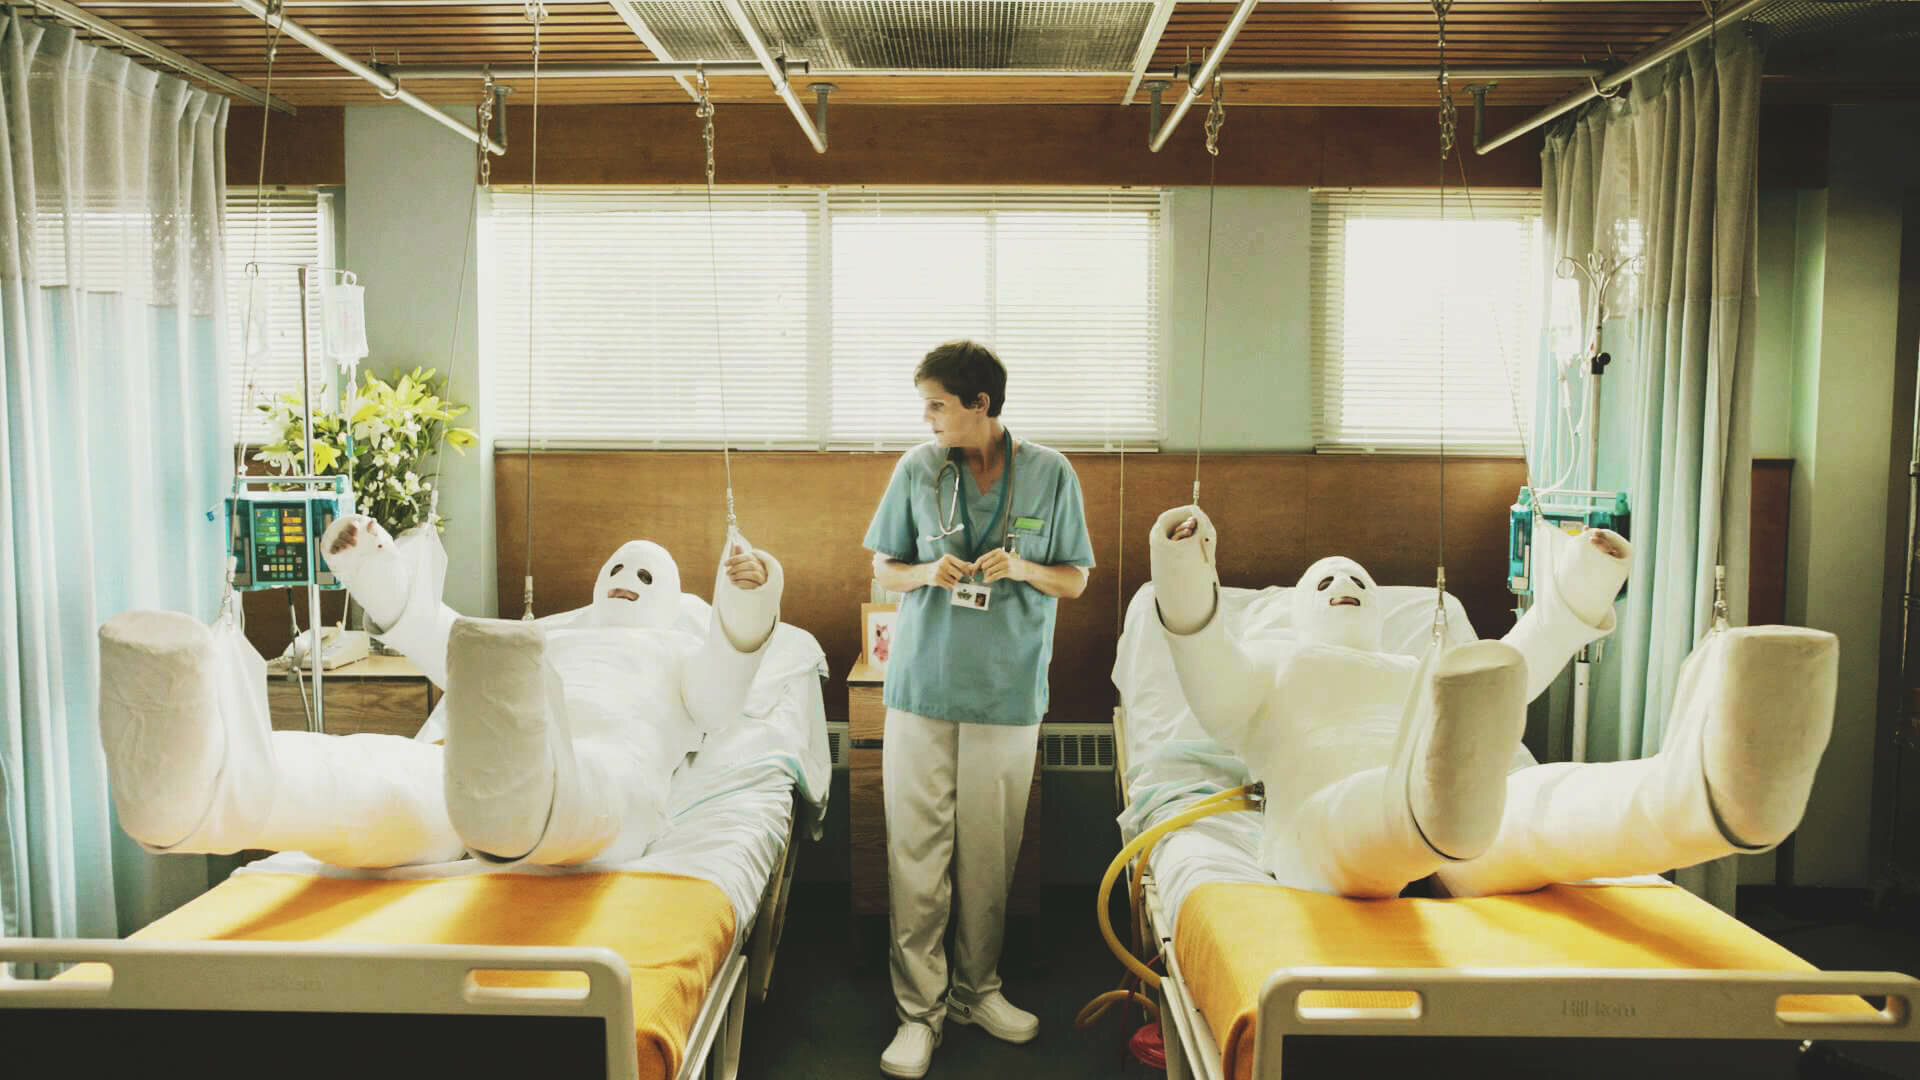
When you injure yourself, one of two things will happen in your mind. On one hand, it might fire you up to come back even better than you were before. On the other hand, you might get depressed and sink into the depths of self-loathing that you have never reached before. If I had my way, everyone would skew closer to the first option.
If you do find yourself fired up, you know you still need to train. And aside from finding a competent physical therapist if needed, you have to be smart about your training. In being smart, we will not only avoid pain, but we will also take a look at the parts that make up the whole as it relates to the big three lifts.
Anatomical terms of motion
To make this easier, let’s define a few basic movements first:
- Flexion—to make an angle between a joint smaller. For example, look at your elbow. When you do a double bicep pose, you’re making that joint angle of your forearm and humerus shorter by way of elbow flexion.
- Extension—to make the angle between a joint bigger. Back to the elbow example, the end of a push-up requires elbow extension to help finish the movement.
- Abduction—to move away from your midline. Imagine there is a line dividing you into your left and right half. If you raise your left arm out to the side so that it’s parallel to the ground, that is shoulder abduction.
- Adduction—to bring back to the midline. Return your arm to your side, and you have shoulder adduction.
- Rotation—when a joint revolves around an axis. For example, if you point your foot straight forward, and then you point it at an angle, you are rotating. People who have “duck feet” are in external hip rotation.
When you injure yourself, one if these motions will become difficult to perform. In the simplest of terms, it makes specificity more difficult, if not impossible. So if we look at our exercises in terms of a hierarchy, it would look like this:
- Specific
- Component Specific (Parts of the Whole)
- Contra-specific (Oppositional movements)
- Non-specific
For clarification, number three on that list would be as simple as doing a pull-up as a contra-specific movement to a barbell military press. In relation to the pull-ups, sprints would be considered non-specific.
Having said that, let’s break down the big three.
The Squat
Looking at the squat, there are many movements to break down within. At the bottom while in the hole, we have ankle flexion (called dorsiflexion), as well as knee and hip flexion. In addition, there is some hip abduction and external rotation. When we move the weight, we are moving into hip, ankle, and knee extension as we apply force. It’s also worth mentioning that we are dealing with compression forces on our spine, as well.
Not only that, depending on whether you squat high or low bar, the amount of each movement will be different. High bar squats have more ankle dorsiflexion than the low bar counterpart, for example. Stance width also dictates how much of a given motion you perform—wider stance yields less adduction when you come up, for instance.
Looking at our hierarchy how do we train around the lack of ability to squat, should that be the case? Well, we break it down. We ask ourselves a series of questions now:
- It hurts to squat, but can I still extend my hips? If yes, awesome. We have options for that. Can I do a glute bridge? Can I use the butt blaster machine? Can I use the back extension device? And so on. If you have no trouble doing any of those, you have a temporary replacement for your squat. And you are still training an important component of the movement.
- We can ask the same question of our knees. Can I extend my knee? If yes, can I do knee extensions? Can I do leg presses? If yes, you have suitable variations in the interim.
That’s not an exhaustive list by any means. The goal is to get your mind right, to let you know that you might be down, but you aren’t out.
Finally, if the injury isn’t severe, you can even do partial squats. In this instance, they are ok. And they’re only temporary.
The Deadlift
Deadlifts are similar to the squat. We have hip abduction, then adduction as we finish the lift. We start in hip flexion and move into hip extension. Not only that, but our shoulders start in flexion move into a bit of extension as we finish the lift. And, depending on your grip, there might be some shoulder external rotation going on (the “under hand” in the over-under grip being the case there). Further, there is also a little added spinal extension at the lockout. Last, like the squat, the stance determines the amount of these you engage in, so take that into account.
If we can’t deadlift, we ask ourselves the same questions as we did before.
“It hurts to deadlift, but can I…”
Again, we go through our options. Some of those include:
- Reverse Hypers (for hip extension)
- Step-ups (for knee and hip extension)
- Romanian deadlifts
- Rack pulls
Just like the squat, we do what can to train the parts of the whole.
The Bench Press
Benching we can break down just like the squat and deadlift. Our shoulders go into horizontal abduction at the bottom, along with some shoulder extension, and elbow flexion. From there, we apply force and move into horizontal adduction, shoulder flexion, and elbow extension. Grip width determines the amount of each, same as before.
Like before, we can enter into the same line of questions:
“I can’t bench, but can I…”
Then we take a look at our exercises. Can I bench on an incline? Can I bench on a decline? Are dips an option? Can I use dumbbells? Are pushups off the table?
But I’m too hurt to do any of those
Everything listed above falls into the component specific portion of the list from earlier. So what do you do when you can’t train the parts of the whole without pain?
You look for the opposing movements. For movements like the squat and deadlift, these are going to be any movements involving hip flexion, or knee flexion. Movements like hanging leg raises, hamstring curls, glute ham raises, are a good example of opposing movements for the squat and deadlift.
For the bench press, you also have a fair amount of oppositional movements to choose from. Face pulls, rowing movements, pull-ups, lat pull-downs, and so forth. Just pick the ones you can do with no pain.
In the event you can’t do any of the contra-specific movements, it’s time to do something else that day. Better to get better at something as opposed to forcing yourself to get better at being injured.
Conclusion
Looking at all these parts of the whole will allow you to formulate a smart plan of attack for training around injuries. But the most important thing to remember is this: don’t do stuff that hurts. This seems lost among many. In avoiding pain, the best option to start is to take that hierarchy I listed above and flip it upside down. I should also note, there are more fine points of movement involved, but for the sake of brevity I left them out to focus on the bigger picture.
That has us starting at non-specific movements first, then moving to contra-specific movements, followed by component specific movements. The amount of time you spend depends on how long you’ve had your injury, for the most part. If your hip has been feeling terrible for the past 15 years and doing squats makes it bad, it will be a while before you can squat again without pain. Not only that, but you can branch away from these listed into all sorts of unilateral exercises for various ranges of motion.
It will take time, and it will be specific to you as an individual.

